Want a weekend project that takes little time, effort or money? This DIY abstract art project gives you all of the above plus a nice piece for your abode.
You will need
A framed canvas (you can buy a cheap artwork and paint over it)
Resene Acrylic Undercoat
Low-tack masking tape
Pencil
Paintbrushes
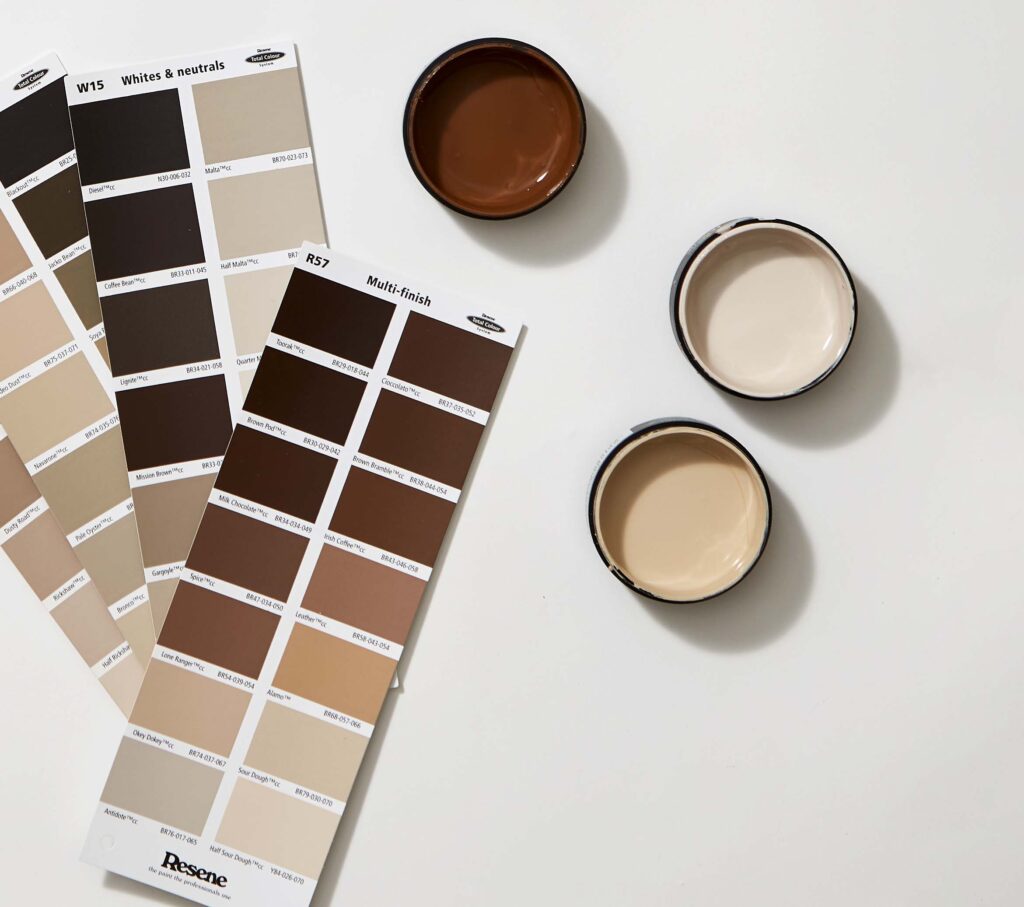
Paint (we used Resene Caraway, Resene Cement, Resene Coffee Bean, Resene Doeskin, Resene Dusty Road, Resene Fossil, Resene Jambalaya and Resene Okey Dokey)
Craft knife

Instructions
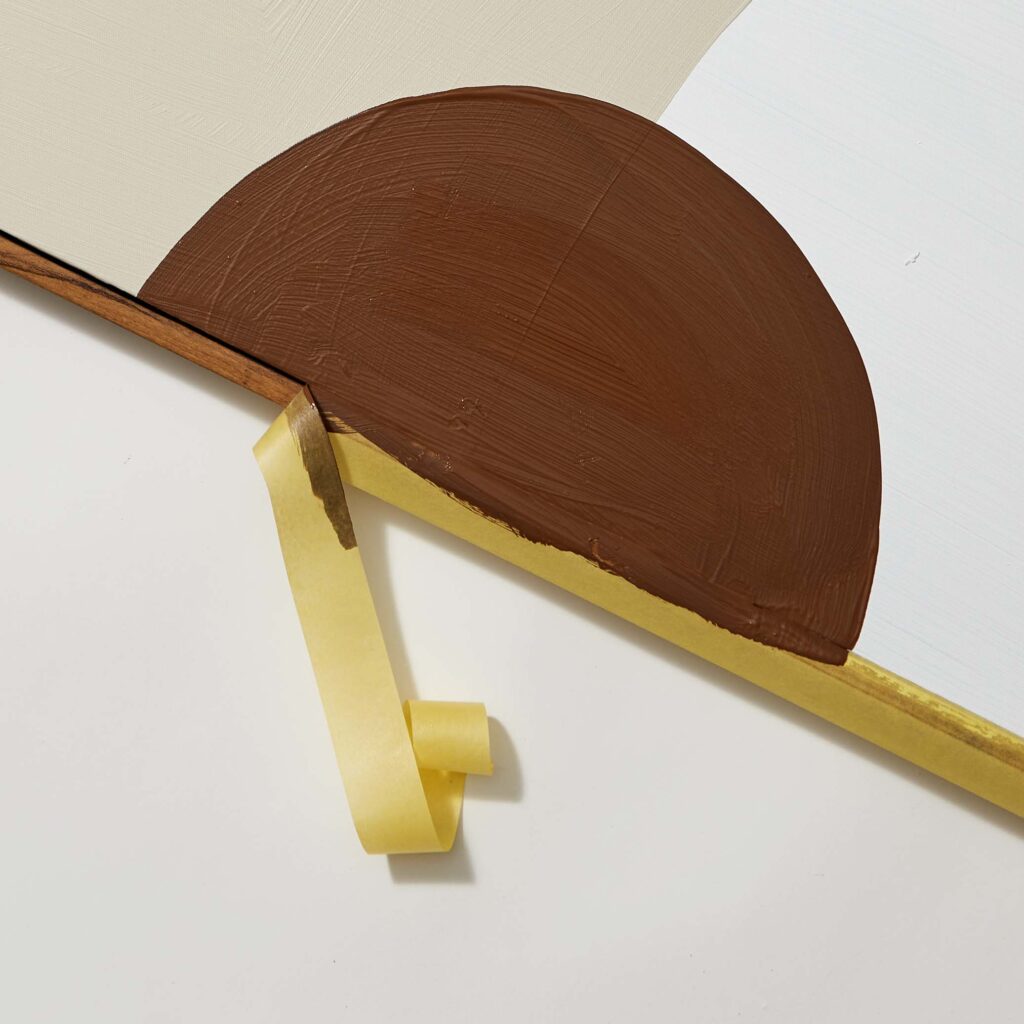
1. Prep your canvas by masking the edges. There is usually a small gap between the frame and the canvas, so, using the masking tape, mask around the four sides and fold a little overhang into the gap between the canvas and frame.
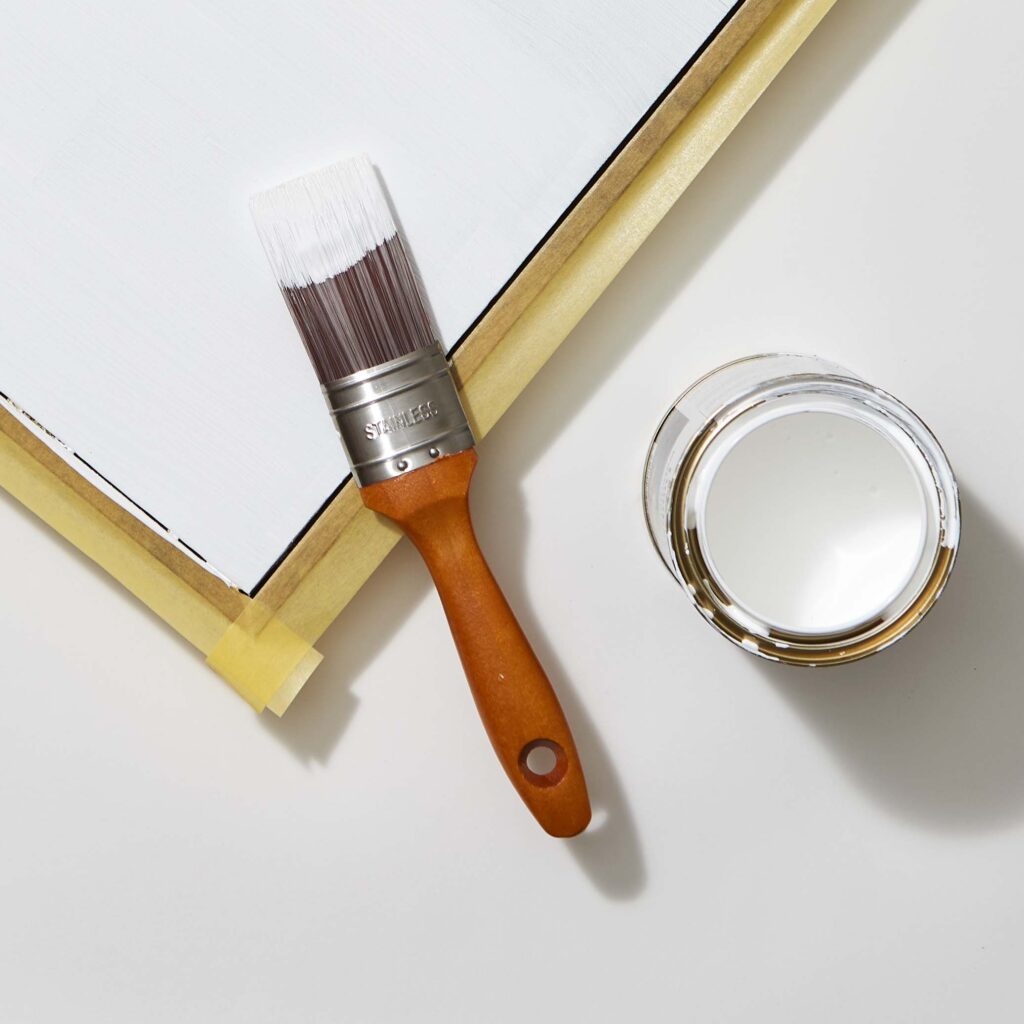
2. Prime your canvas with Resene Acrylic Undercoat. Depending on what you are painting over, one to two coats should be sufficient.
3. Once your canvas is primed and dry, lightly draw in pencil an outline of a large shape, covering 70 percent of the canvas. Leave two opposite corners coated in just the primer for balance and symmetry.
4. Choose your Resene colour palette, comprised of one light tone, two medium tones and two dark tones. (We opted for a rusty/beige combination using Resene testpots, starting with Resene Fossil for the large canvas and Resene Caraway for the smaller one.) Paint your first light tone within the pencil lines and let it dry. Depending on coverage, you might need to apply more than one coat.
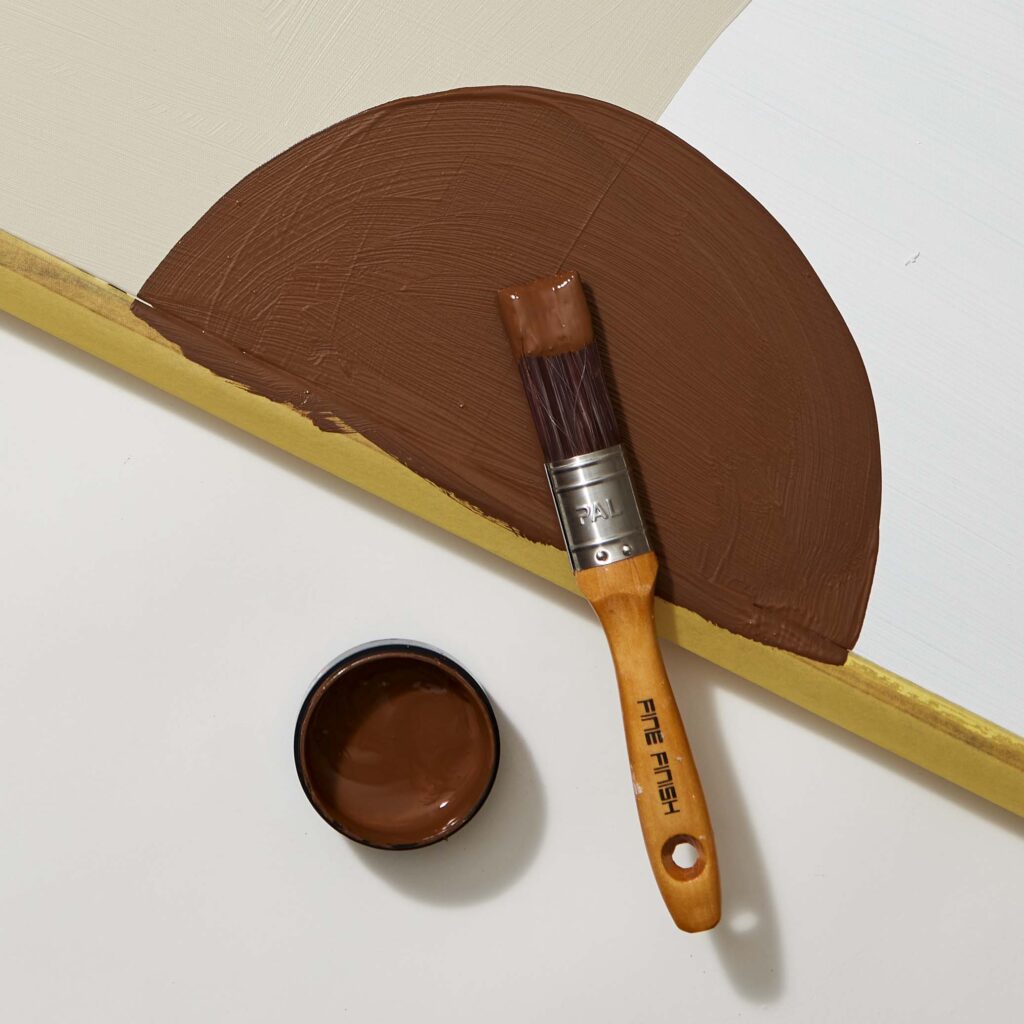
5. Once the first colour has dried, draw your next shape, making it overlap with the first. Make this shape half the size of the first one. Paint your medium shade inside the pencil lines. (We used Resene Doeskin for the large canvas and Resene Okey Dokey for the smaller one.)
6. Once the second layer of colour has dried, repeat step five for your second medium-tone colour, creating a shape on a different area of the canvas. (We used Resene Dusty Road for the large canvas and Resene Cement for the smaller one.)
7. Once dry, it’s time to get into the darker layers. Because these colours are more intense, make these shapes smaller again, covering about 10 percent of the canvas. Outline your first shape in pencil and apply the first dark tone within the lines. (We used Resene Jambalaya for both our canvasses.)
8. Repeat step seven with your final dark tone. (We used Resene Coffee Bean for both artworks.) Make sure you space the dark tones far enough apart so they don’t look heavy and clumped together.
9. Once it’s dry, slowly peel back the tape to complete your masterpiece. (Tip: Before you remove the tape, use a craft knife to carefully slice through the gap between the frame and the canvas, where the paint has collected and dried.)