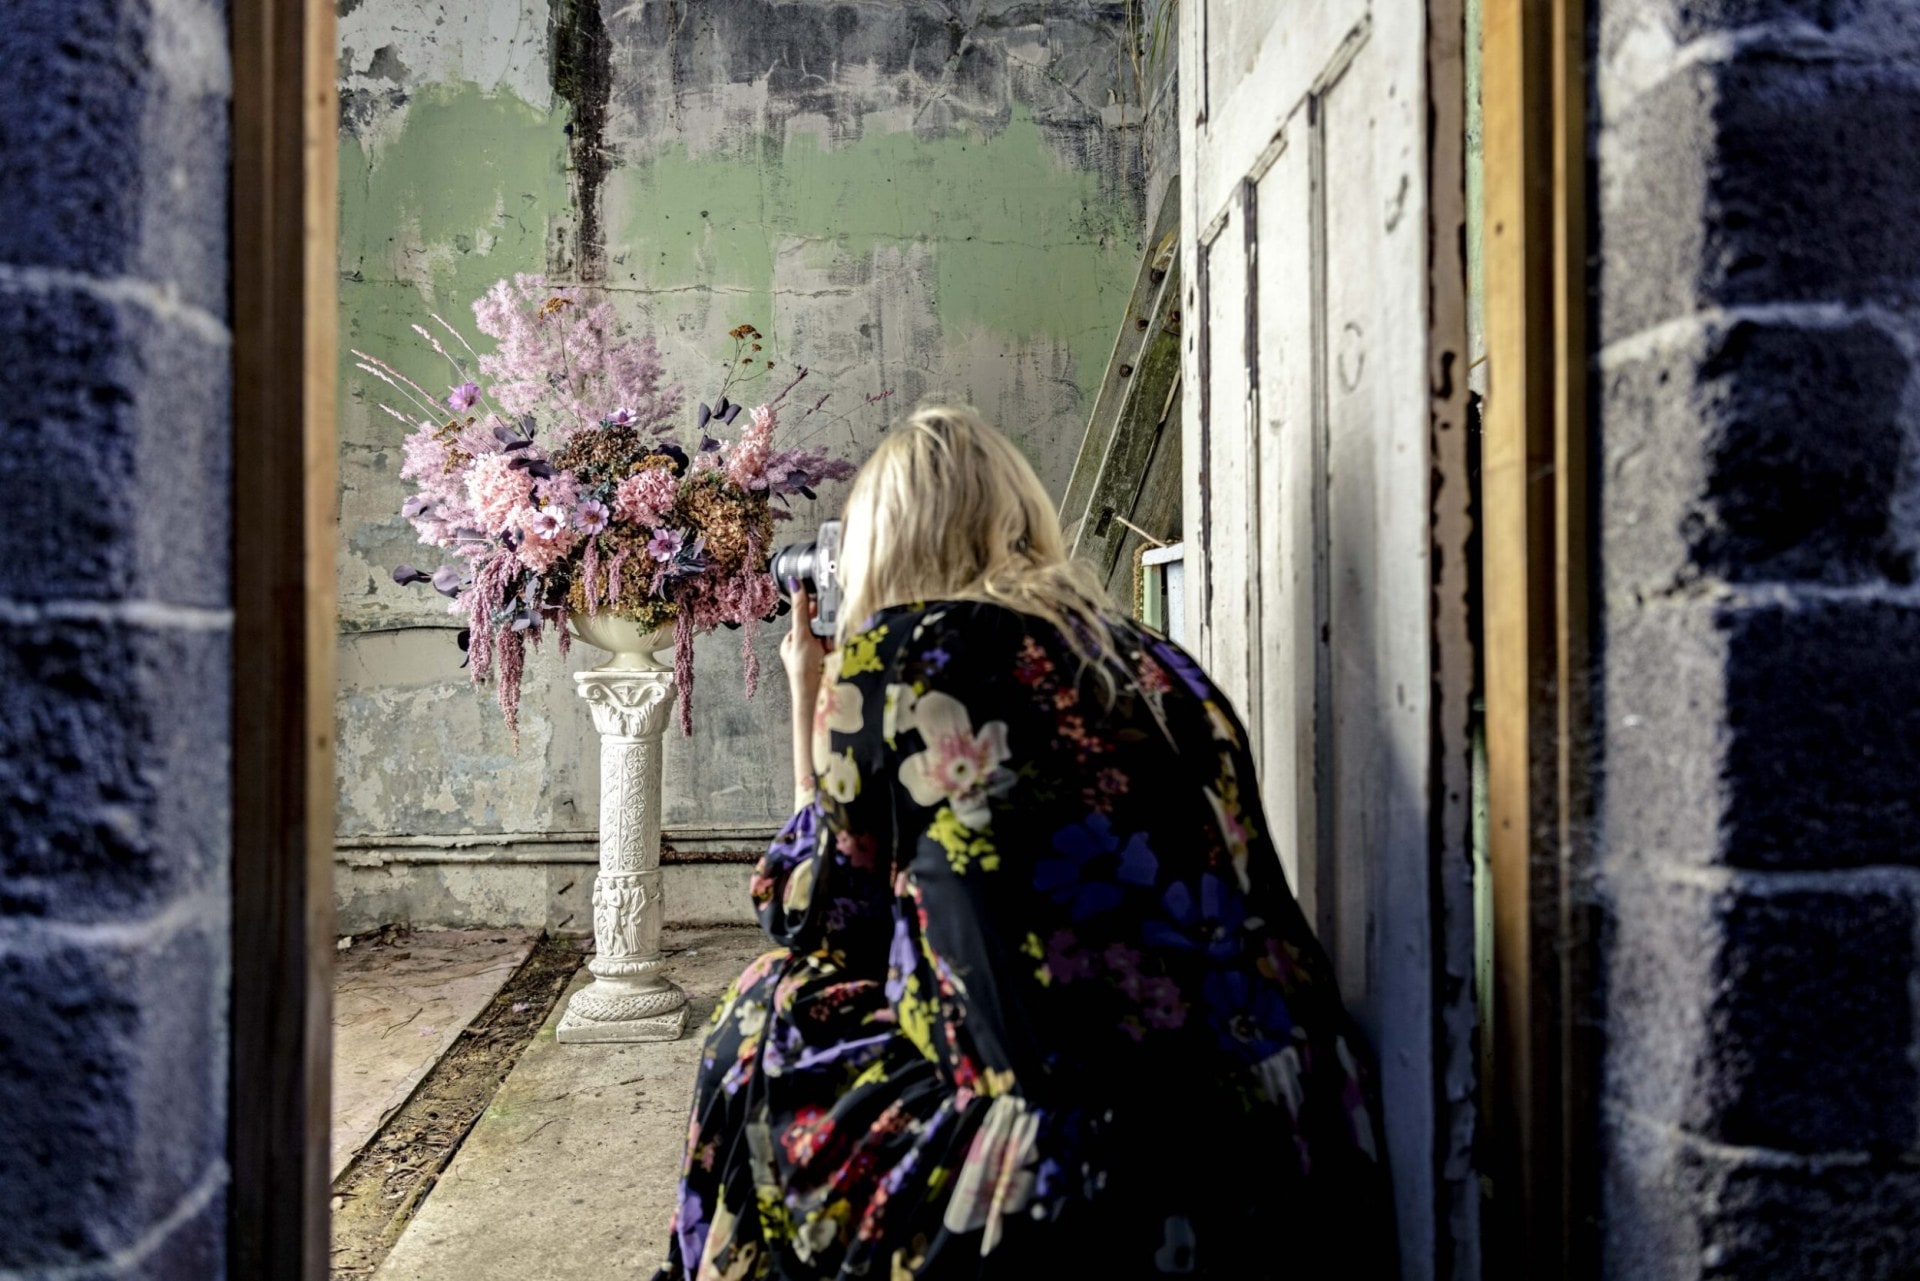
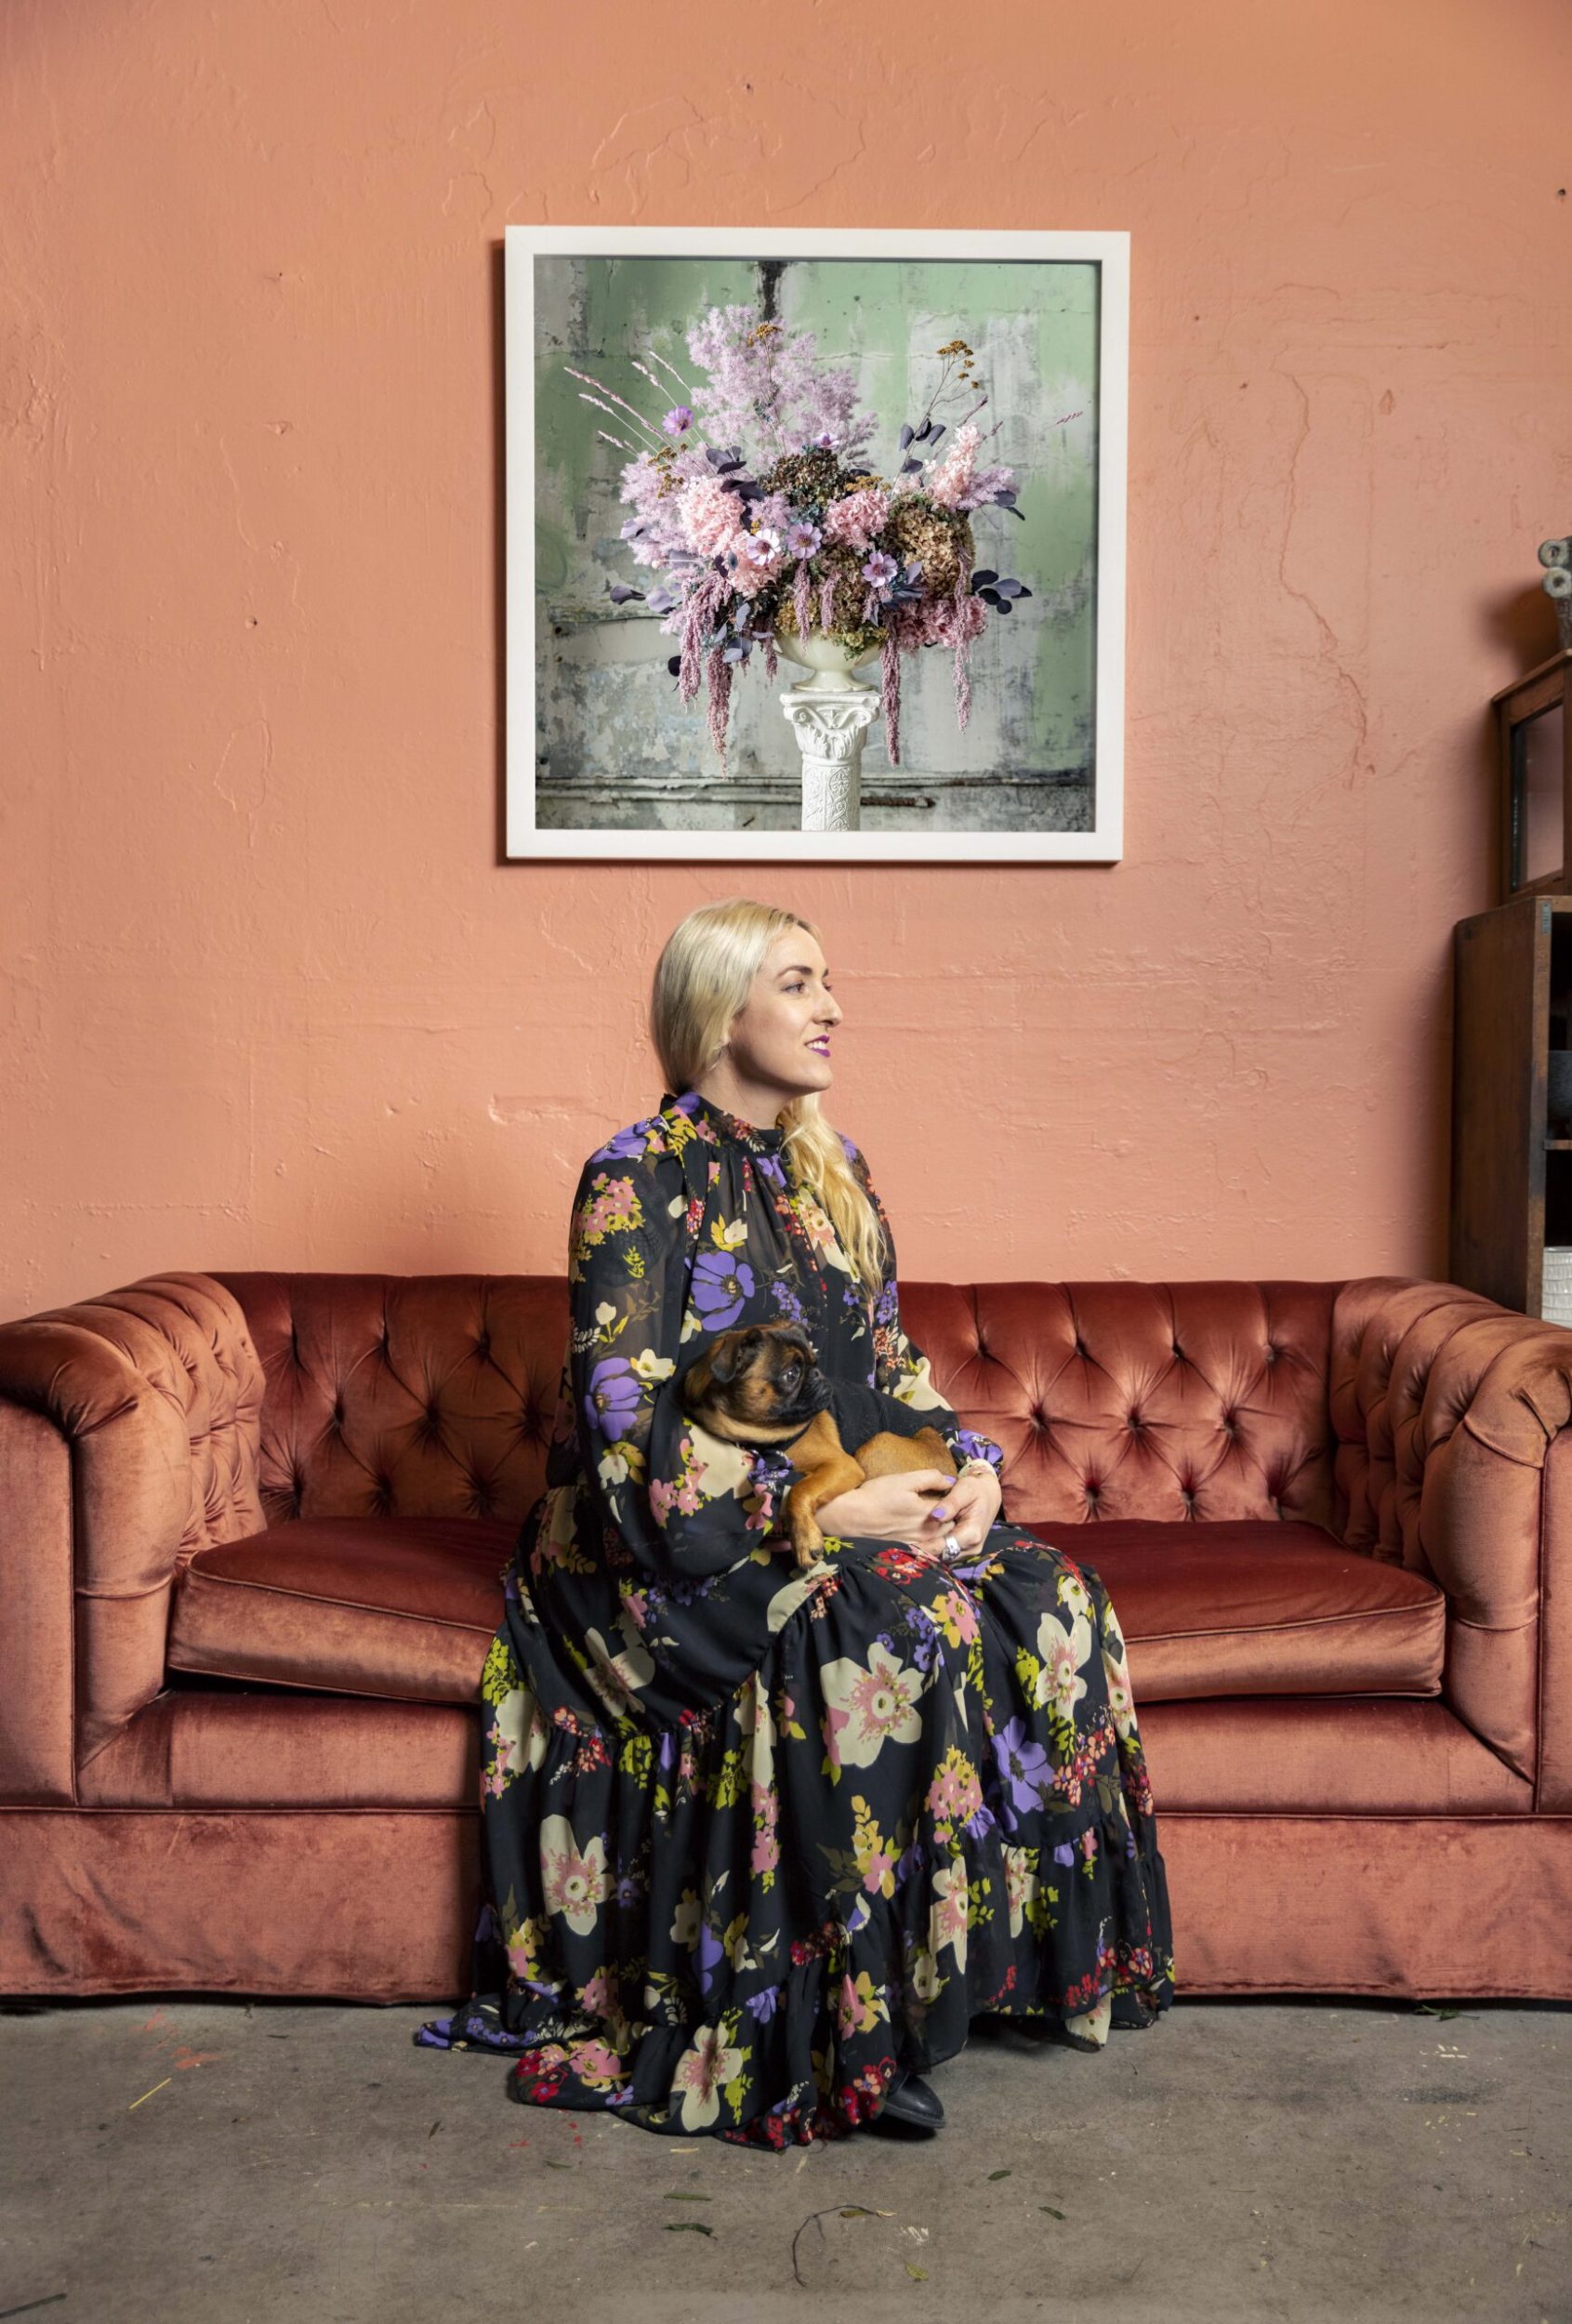
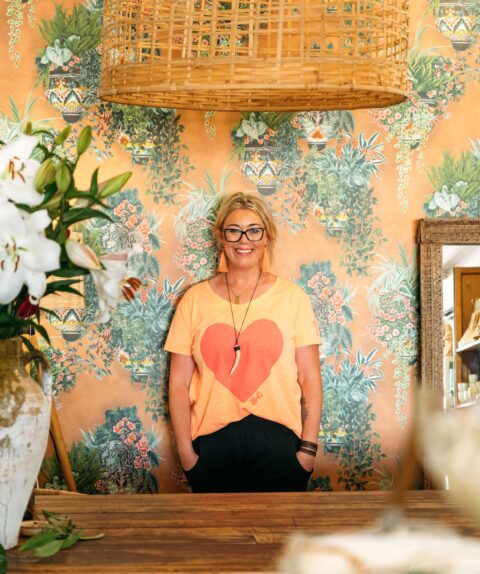
Georgie Malyon’s majestic botanical arrangement is as pretty as a picture, so she decided to turn it into one.
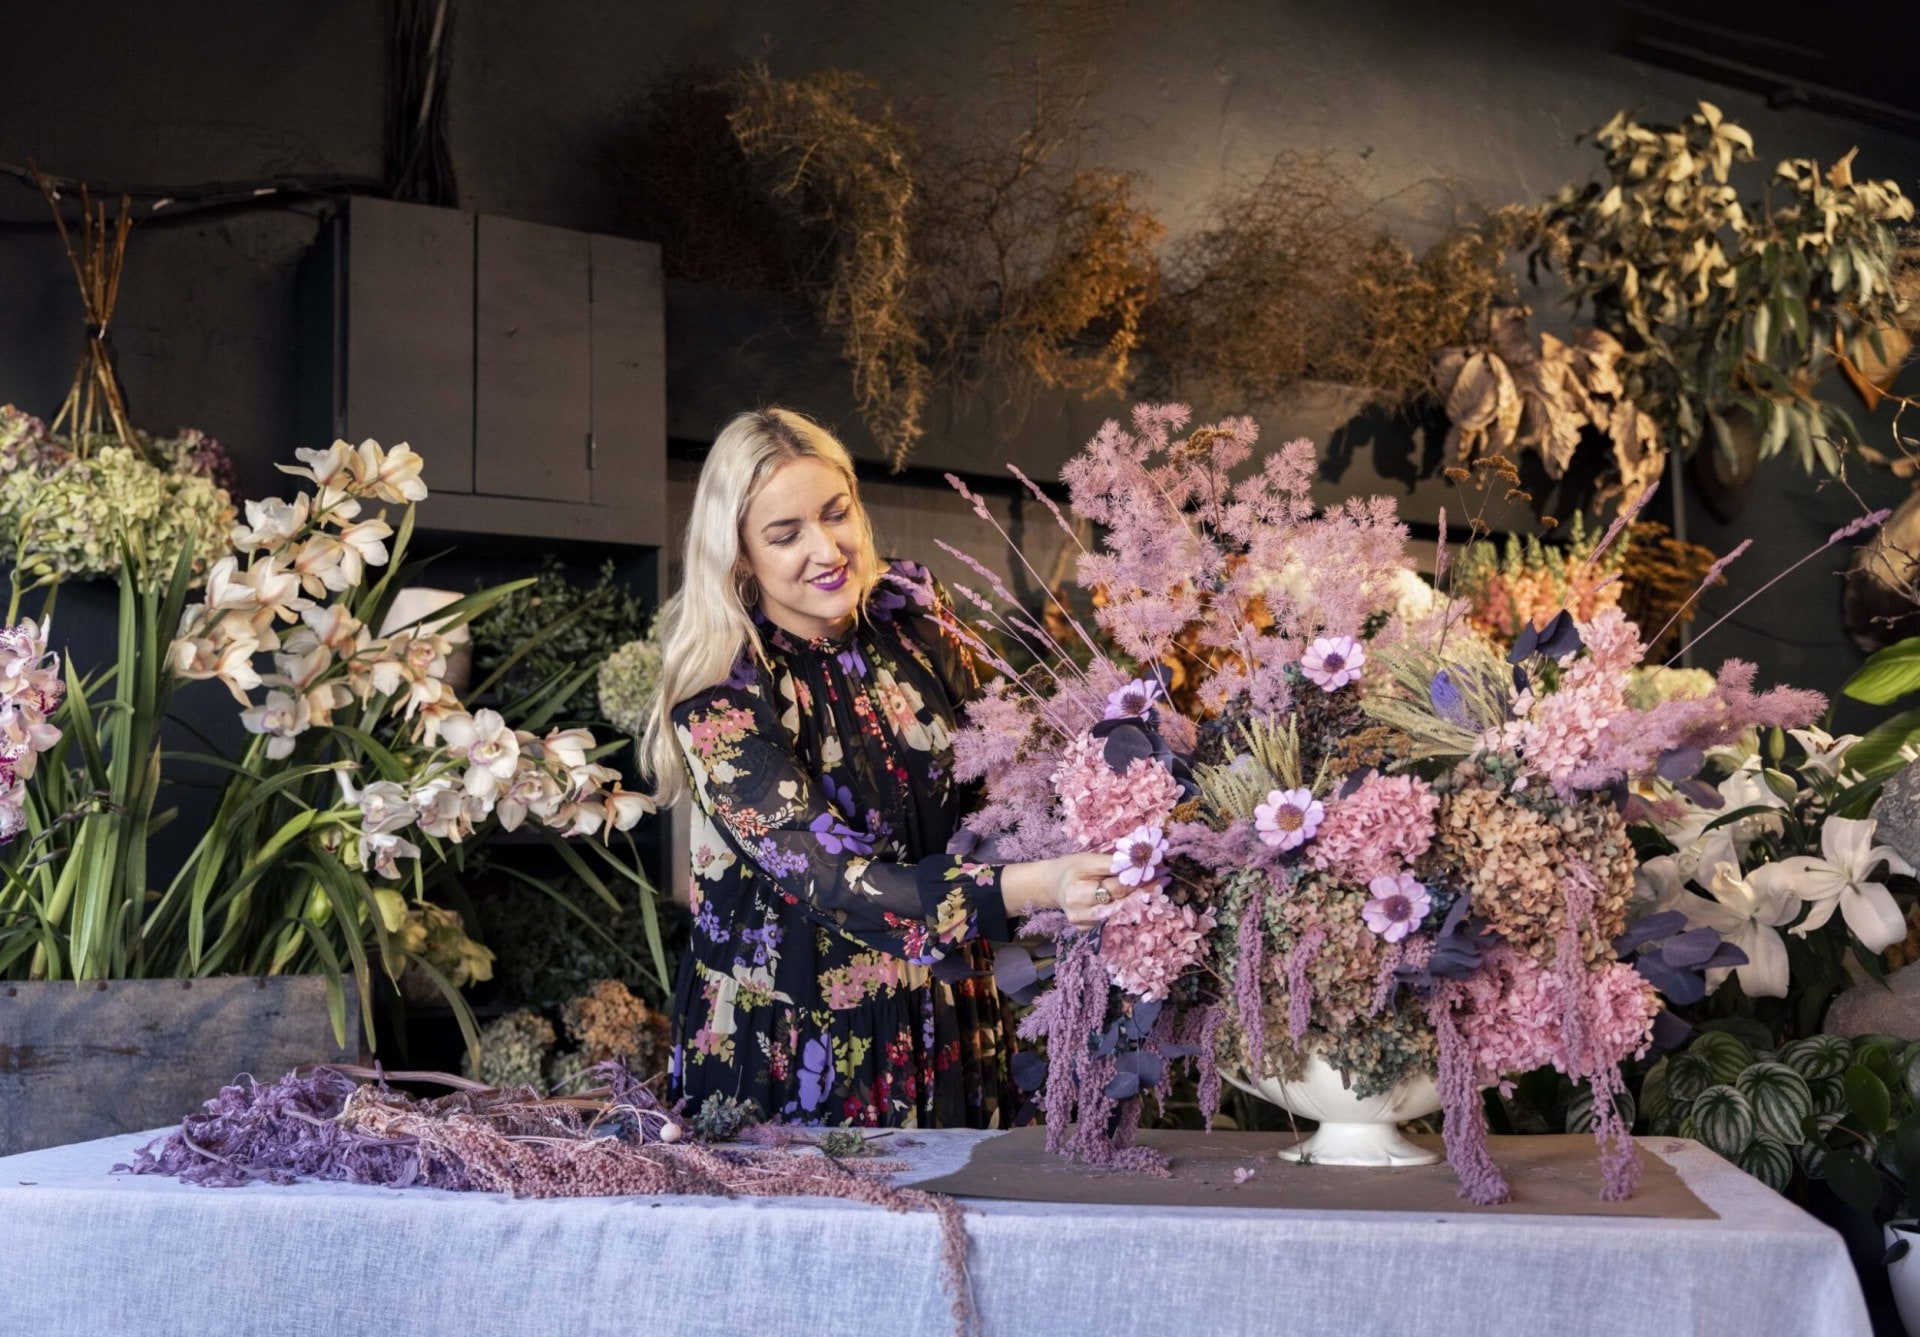
1 Any flower love knows that the next best thing thing to displaying flowers in your home is hanging botanical art on your walls, so for this project I’ve combined the two. I fell in love with a palette in smoky candy floss colours, and used a range of dyed, preserved flowers including ming fern, hydrangeas, amaranth and stella luna.
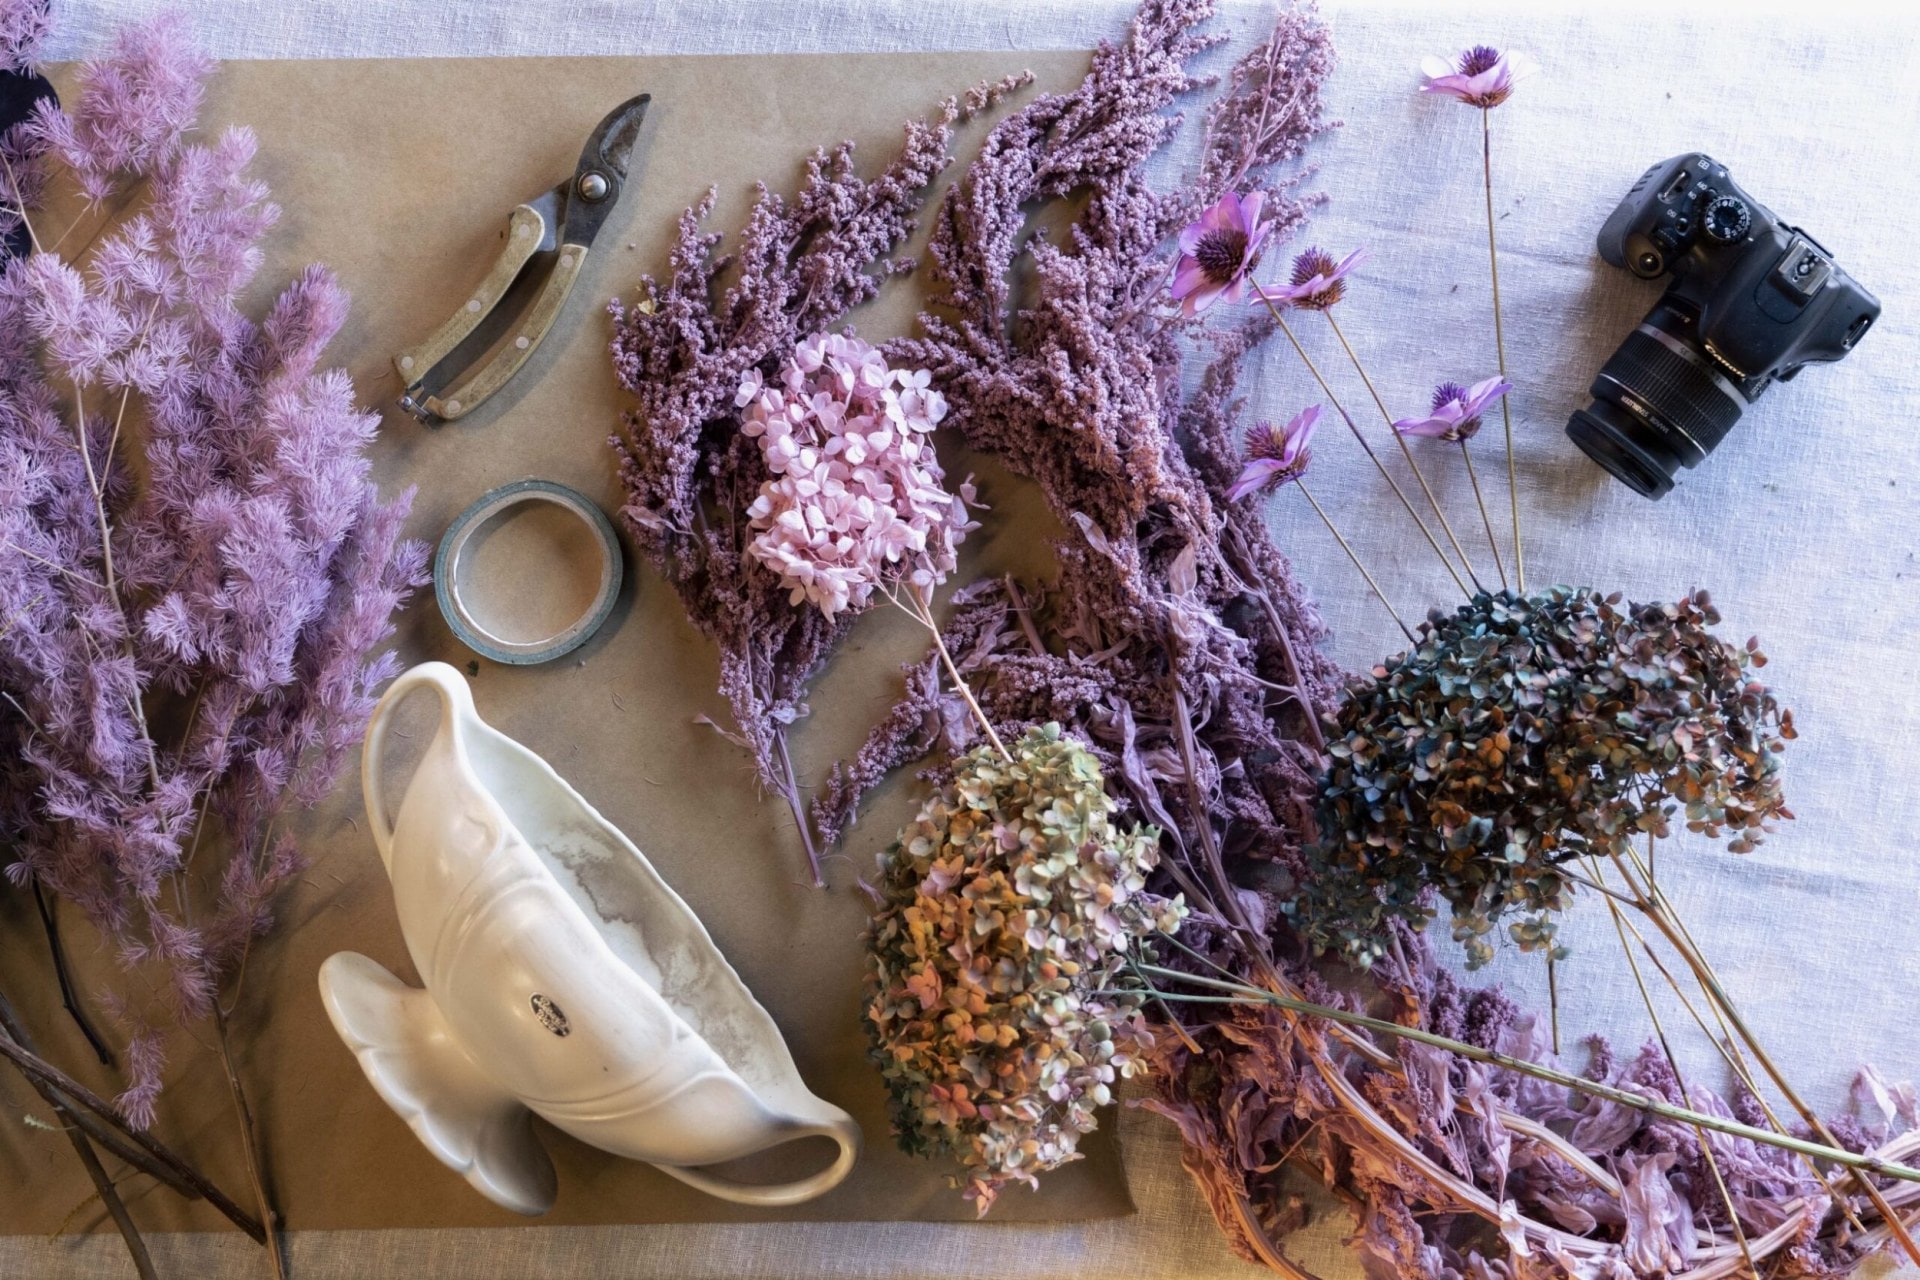
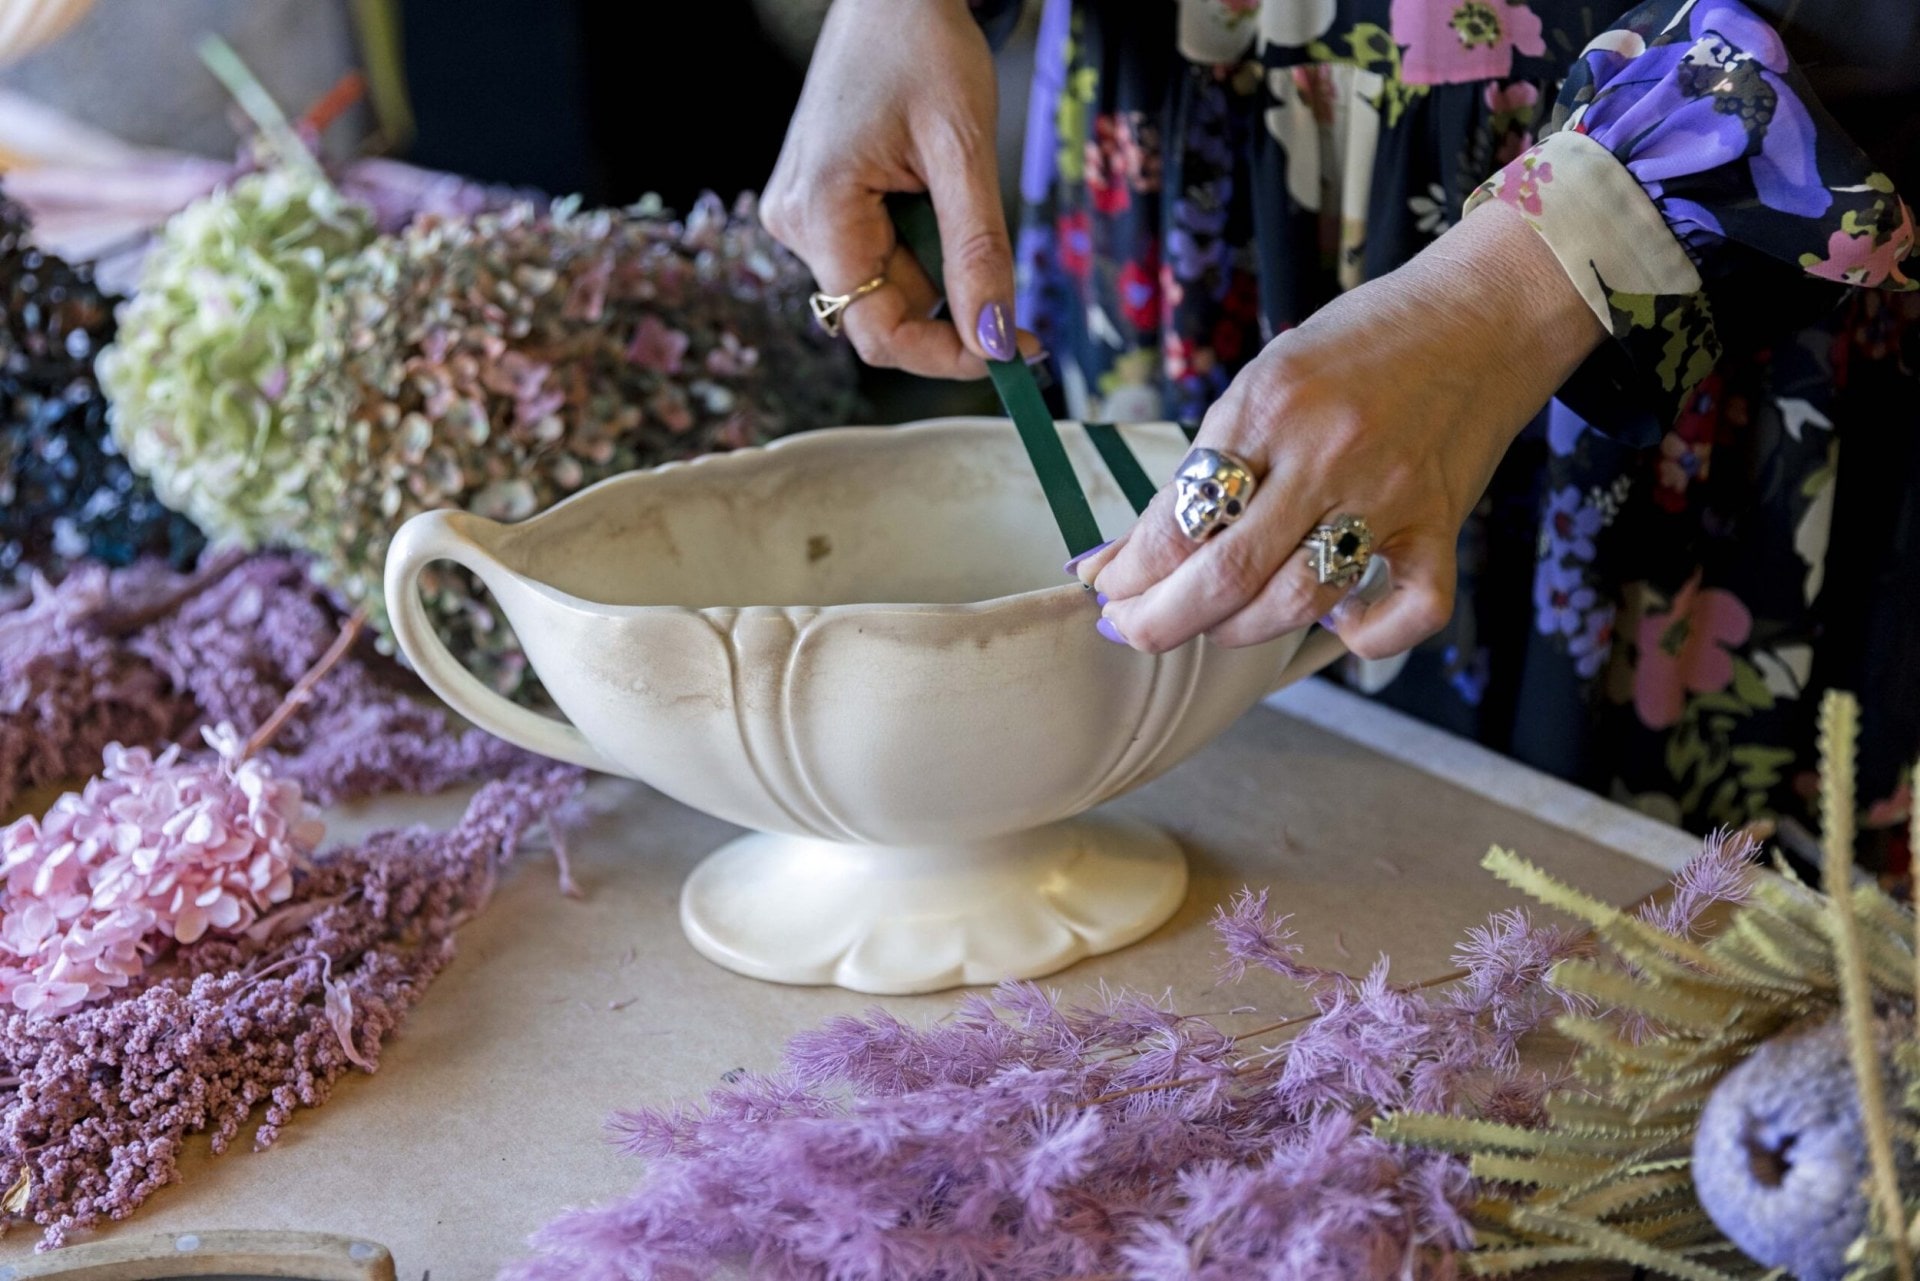
2 I chose to display my arrangement in a retro Beswick flower urn – raid your china cabinet, or search on Trade Me or in op shops for vintage bargains. To stabilise the flowers, particularly if you’re using a shallow vessel, create a grid that you can easily insert stems into by taping floral tape or sticky tape across the top of your vase.

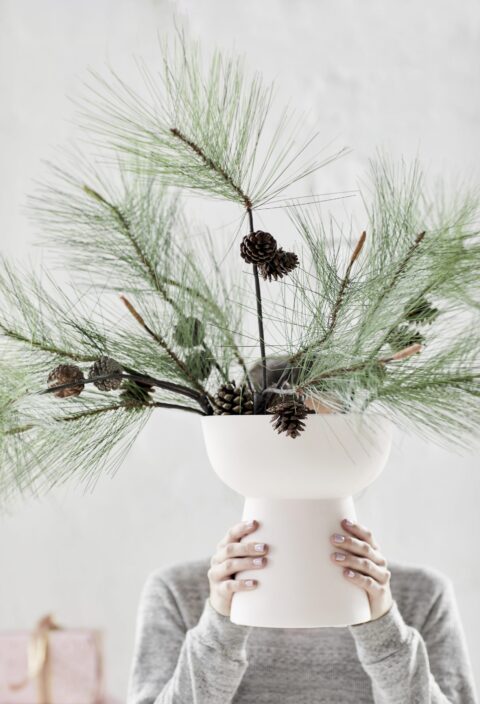
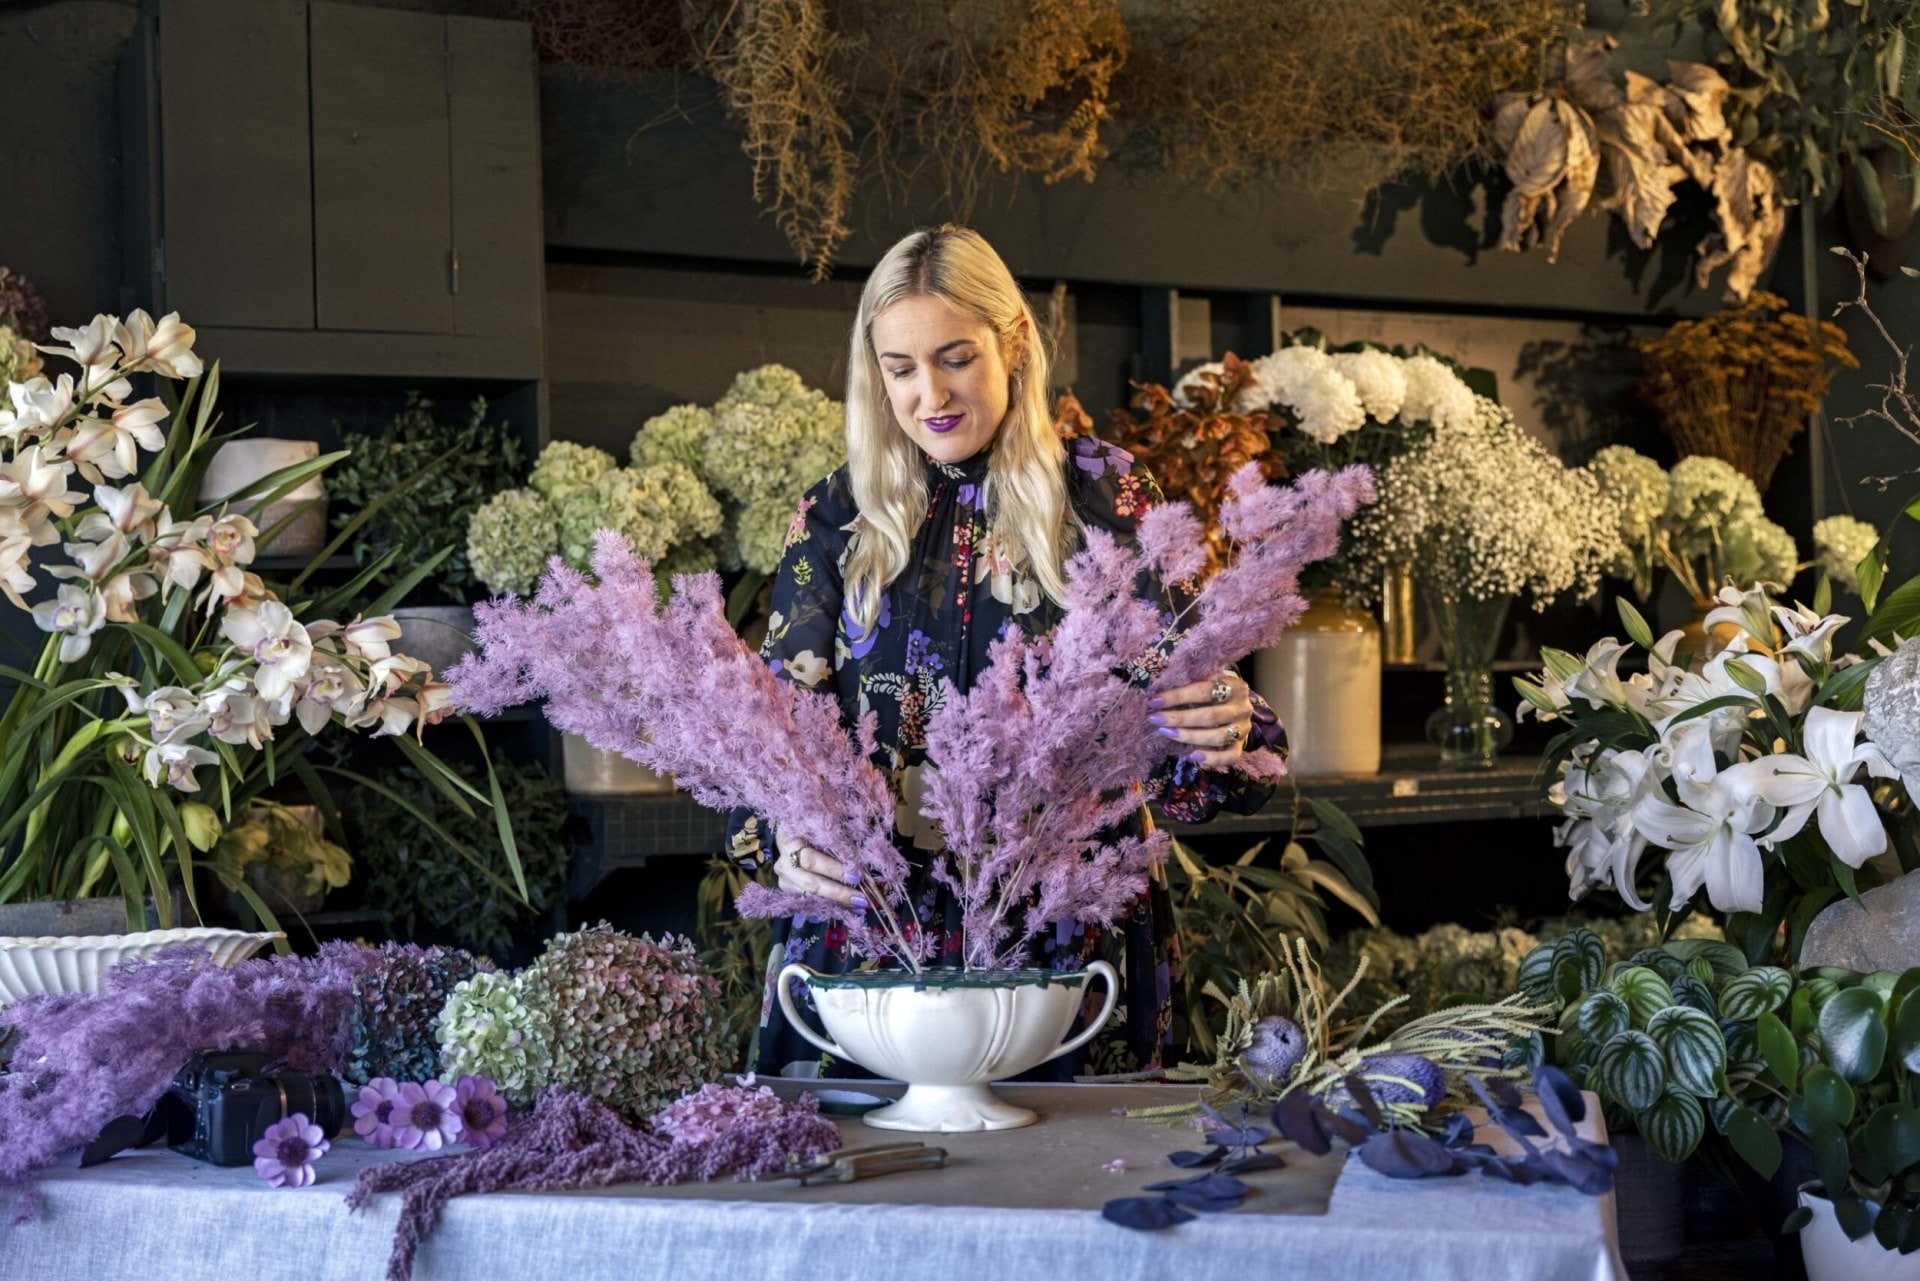
3 First, create a structural outline by inserting the tallest flowers into the vase. Fill in the middle with medium-sized blooms, then embellish the display with pops of movement by adding individual flowers so that they splay out at different angles.
4 Now it’s time to get snapping. Find a suitable backdrop, preferably one that is side-on to a large window, as the natural light will enhance the 3D aspect of your floral handiwork. If it’s too bright, hang up a white sheet to diffuse the light. Take your photos (your phone is fine), choose your favourite, get it printed and framed, and call yourself a botanical artist!